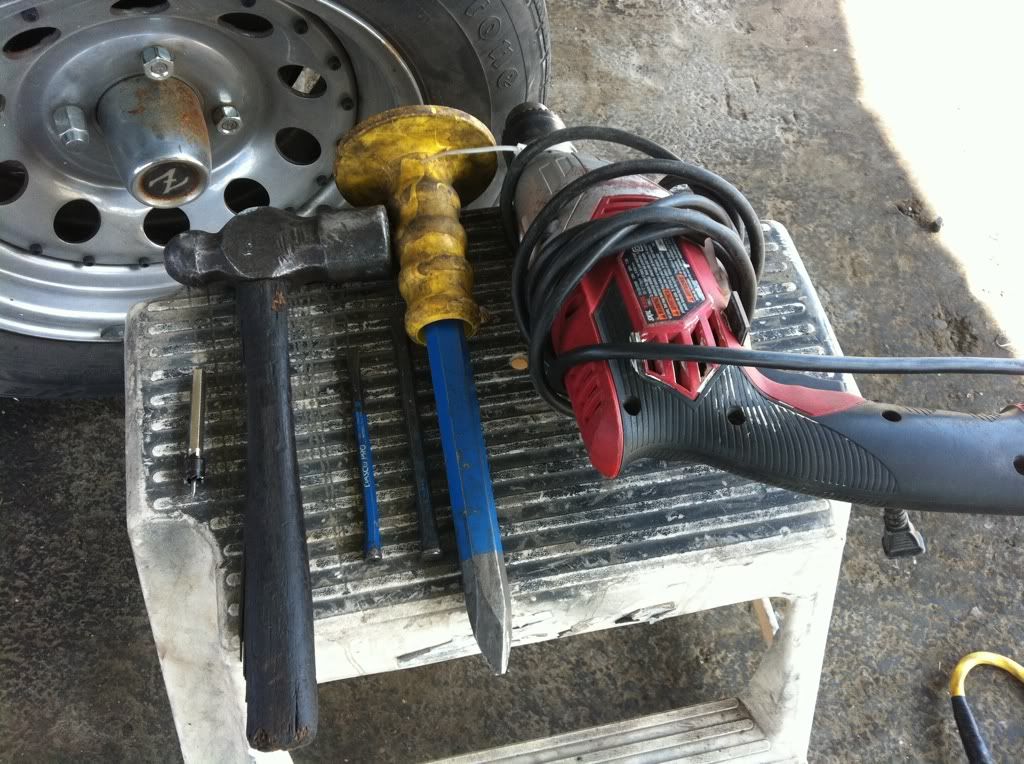
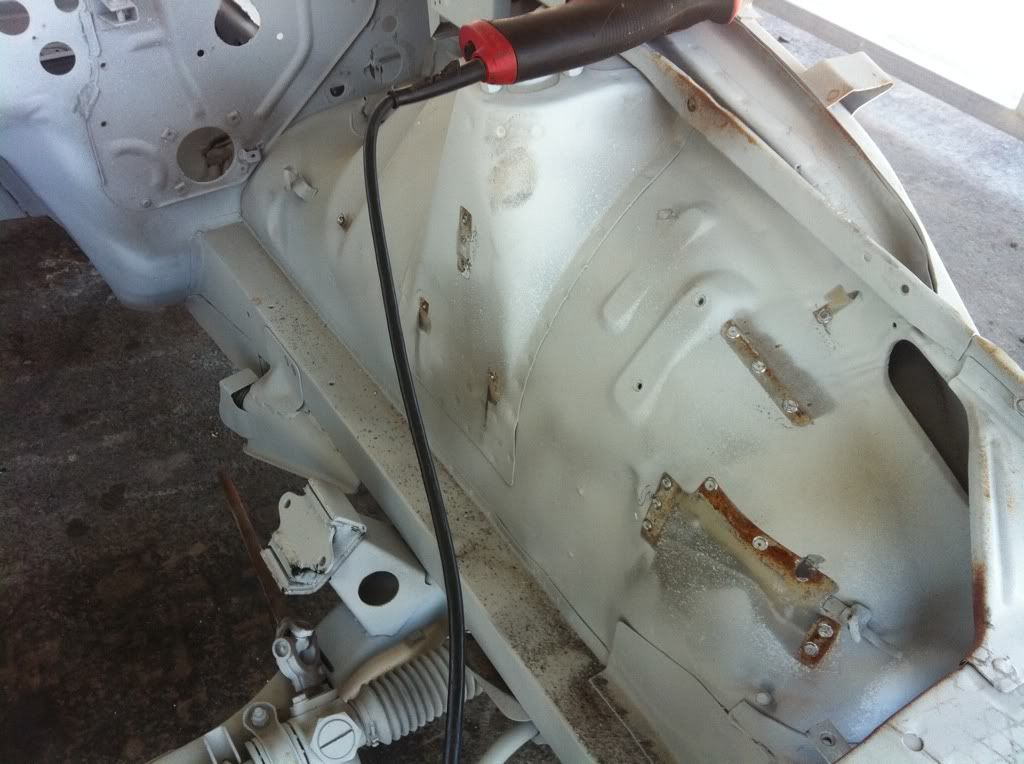
In nearly every car, body panels and brackets are attached using spot welds. Removing them takes the right tools and a bit of patience. Here's what I used:
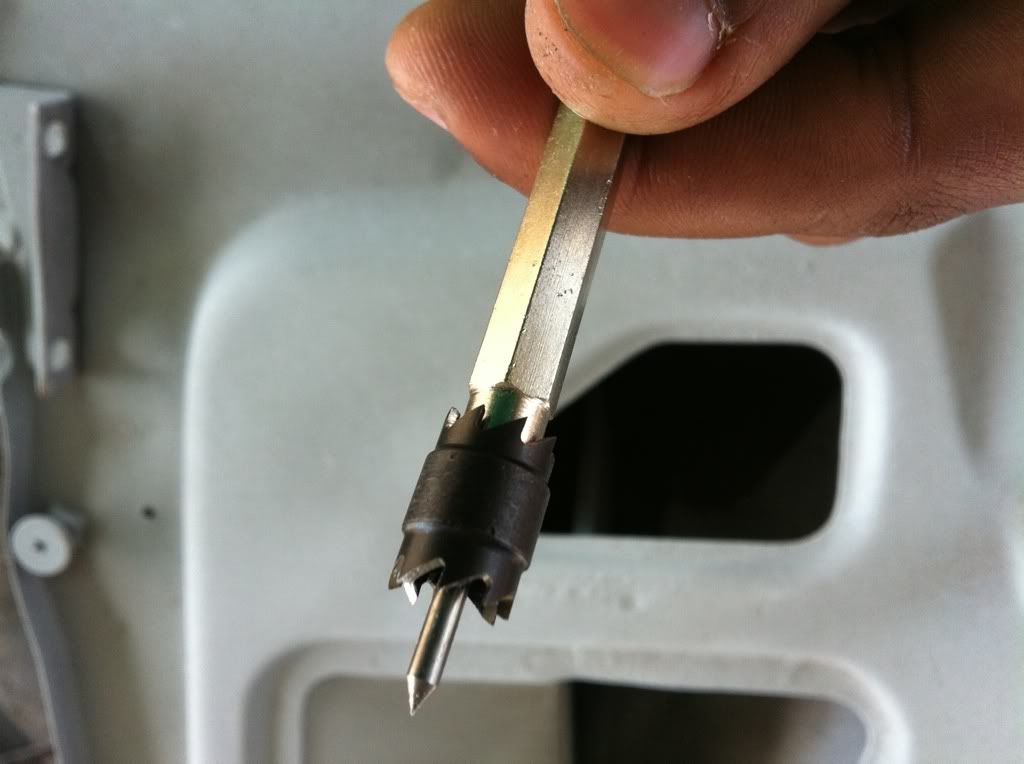
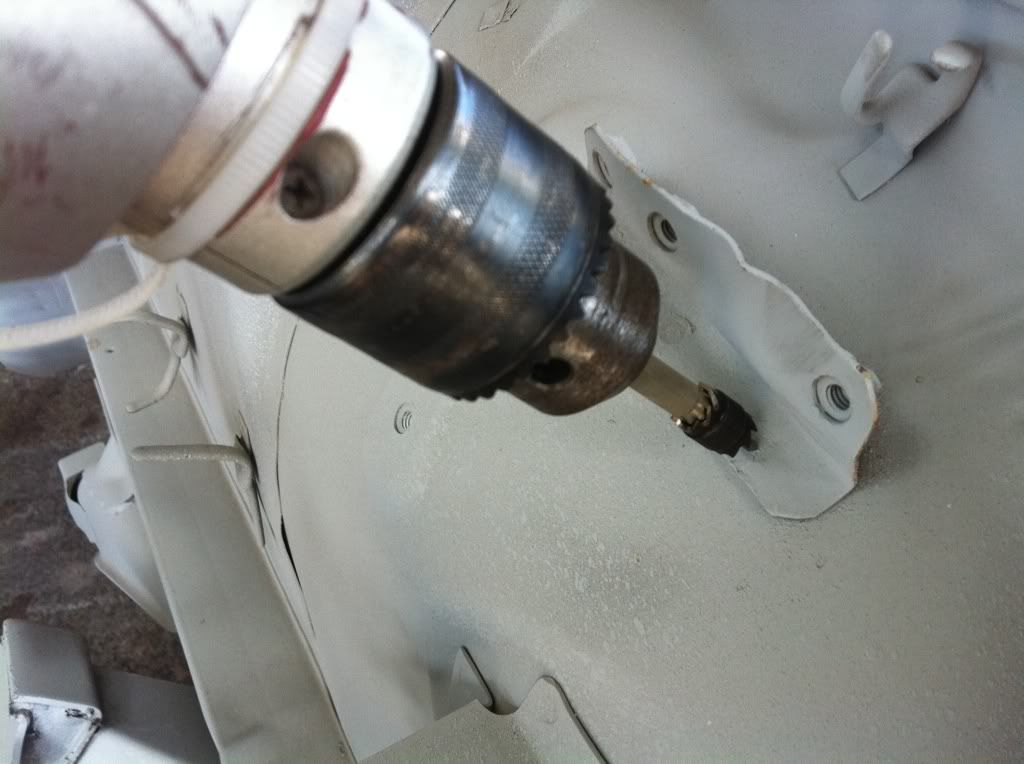
Most importantly is the spot weld remover tool. It's basically a small hole saw with an adjustable guide in the center to keep you from drilling into panel underneath. Use a punch to serve as a guide to center the tool then drill away the weld, careful not to drill to deep.
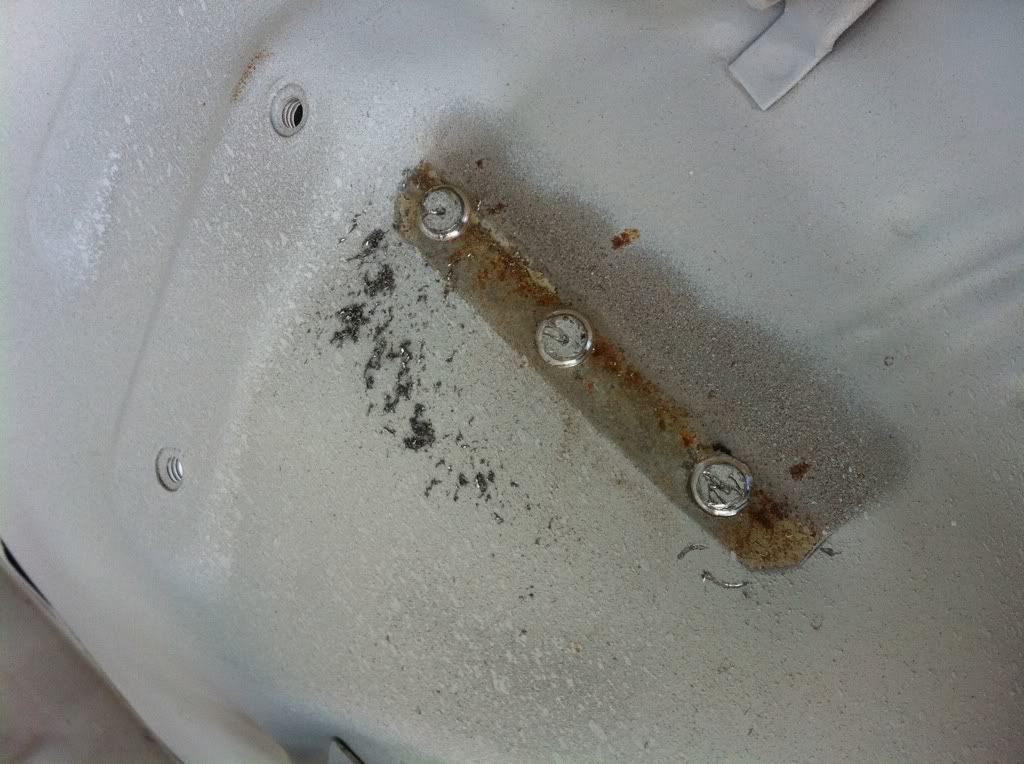
Once the spot welds have been drilled the bracket should just fall off, if not a chisel and hammer will come in handy. Even with the tool it's easy to drill to deep in that case a little welding will be needed to fix the hole.
So the Triumph is still down from the spring fling ride last month.
After elimination other possibilities I'm starting to fear the worst. All the low speed riding along with high temperatures may have cause the engine to run hot and seized a piston.
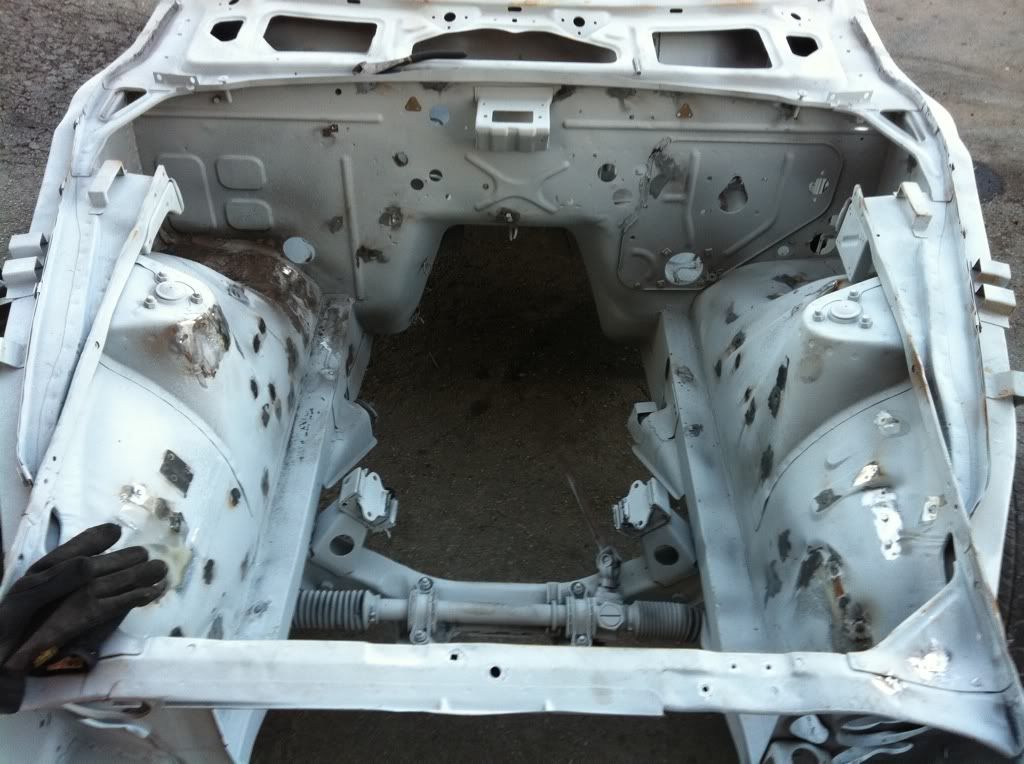
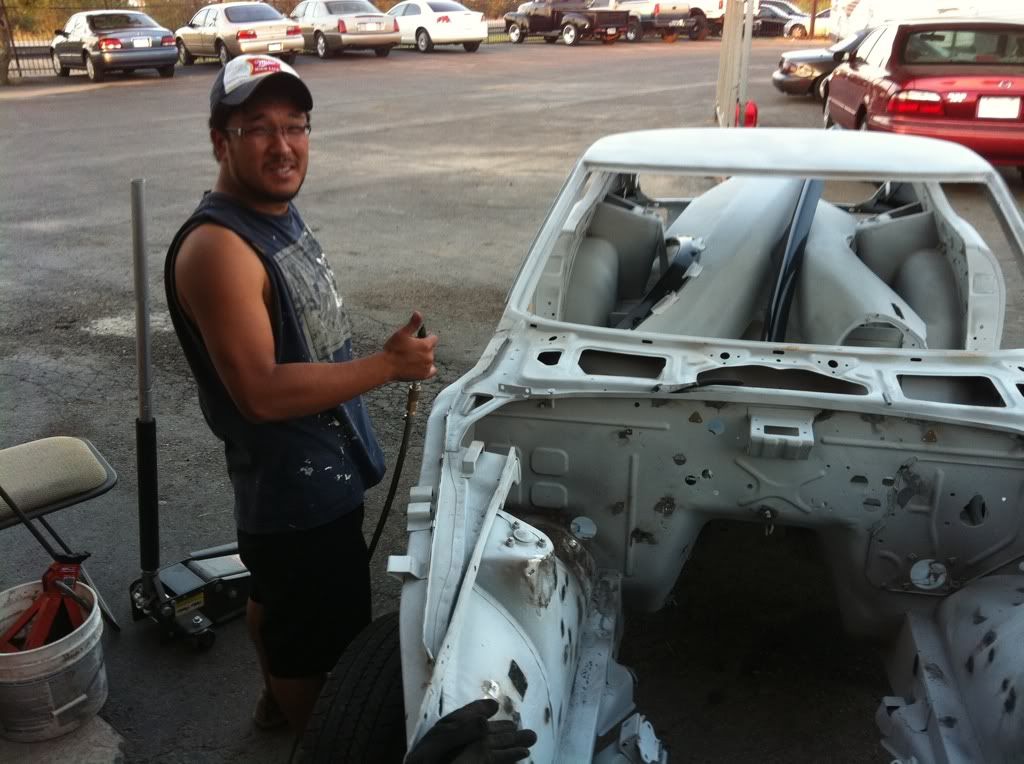
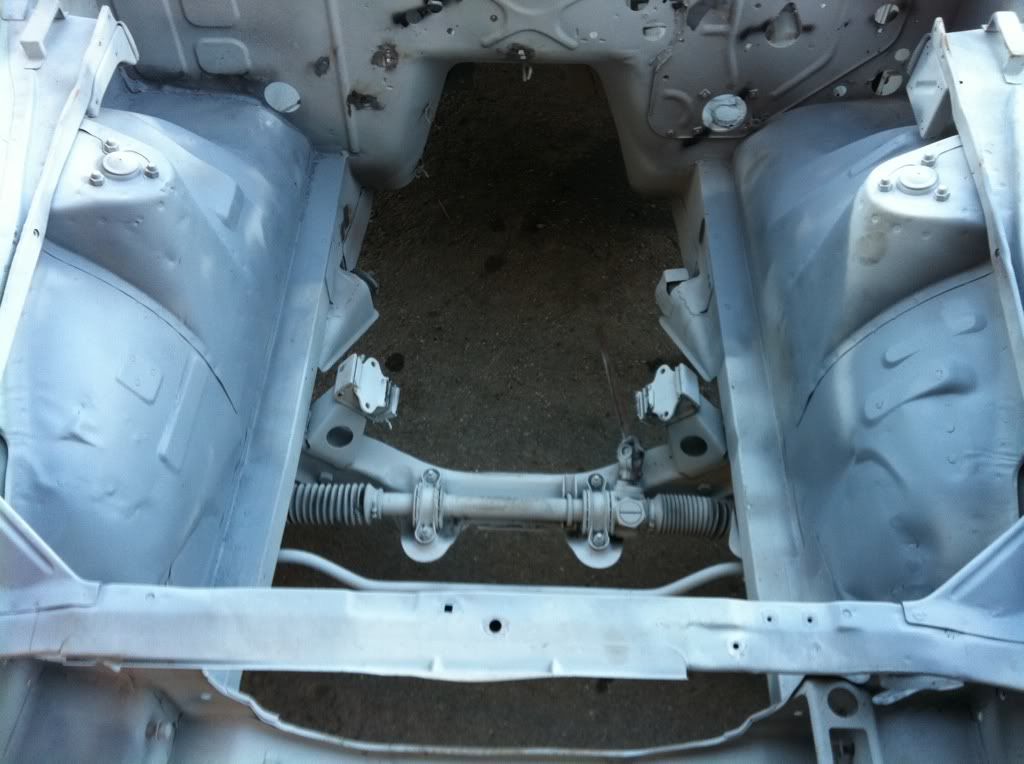
The sand blast shop called to let me know the Z is ready to be picked up. I'll have some pics up as soon it's back at my place.
To try and keep from posting with out any pictures here is the new alternator that came in today and the new adjuster arm. I went ahead and got an alternator for a 280zx. They are 60 amp as appose to 40-50 amp units that come on early Z's.
There is probably nothing I hate more than working backwards due to a mistake. I guess that's how you learn. So note to self; Don't put the oil pan on before you install the crank pulley, cause that woodruff key will come out and it will fall into the pan. Yet not far enough to fish it out!
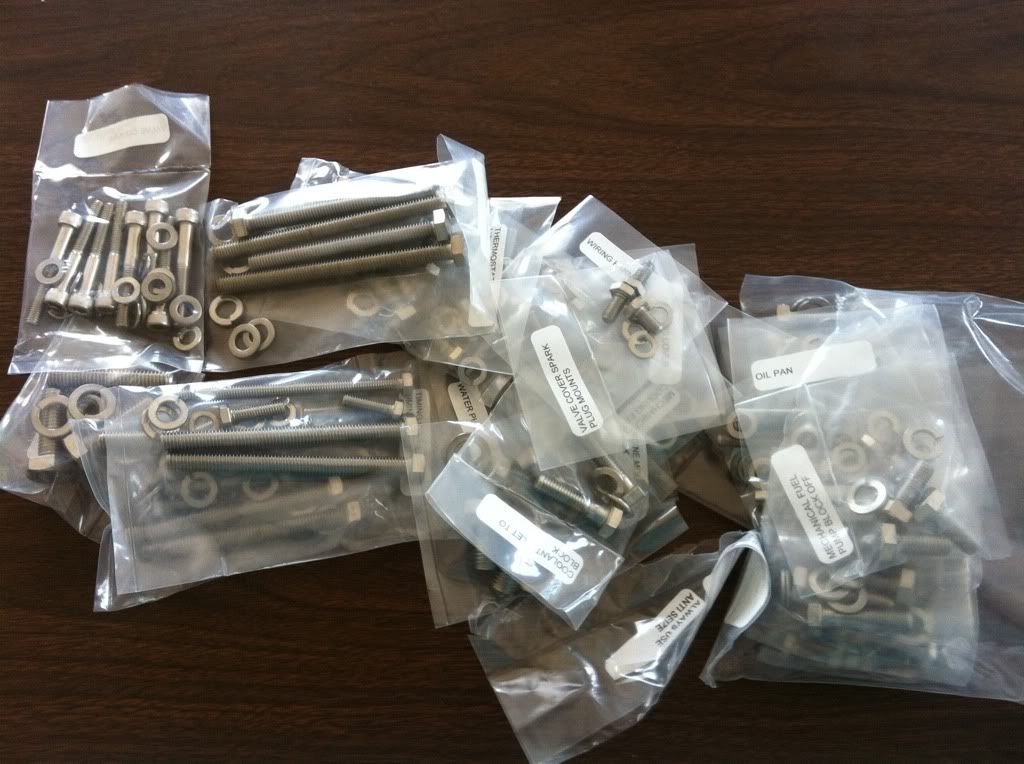
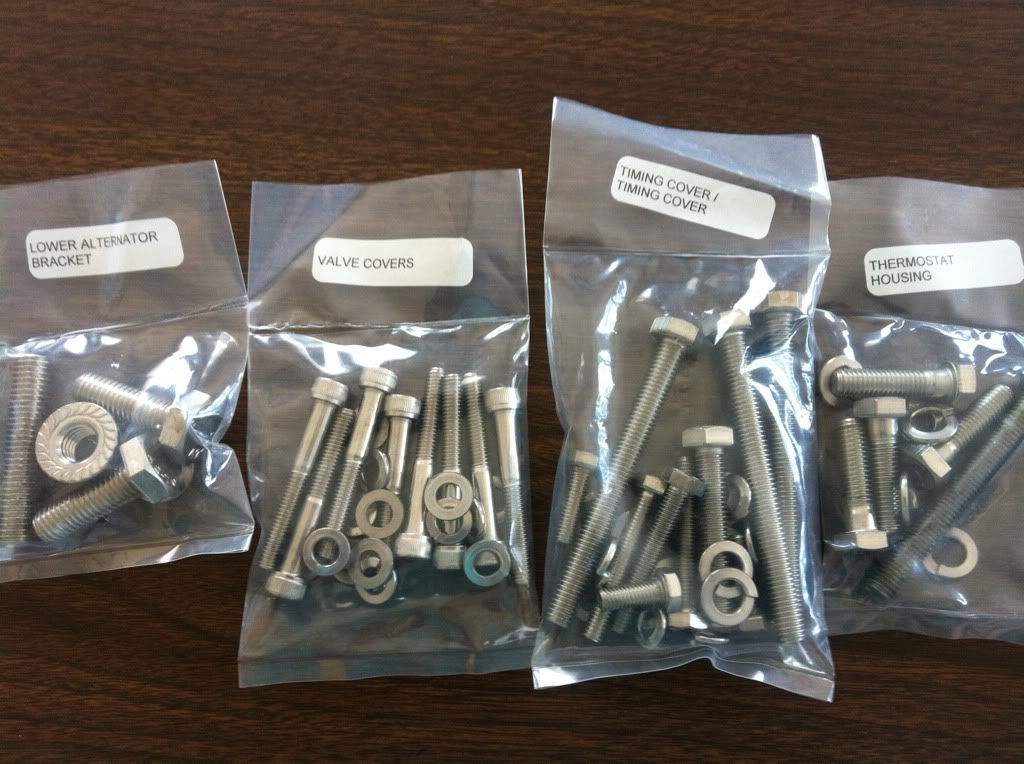
Been waiting on these for a while, but very much worth the wait. They are from MMS & Accessories, it includes the external bolts for the entire engine all in stainless steel. Even includes the exhaust and intake manifold studs. The kit comes in individually packaged and labeled baggies for easy installation.
I'll update as soon as I get the engine all bolted up.
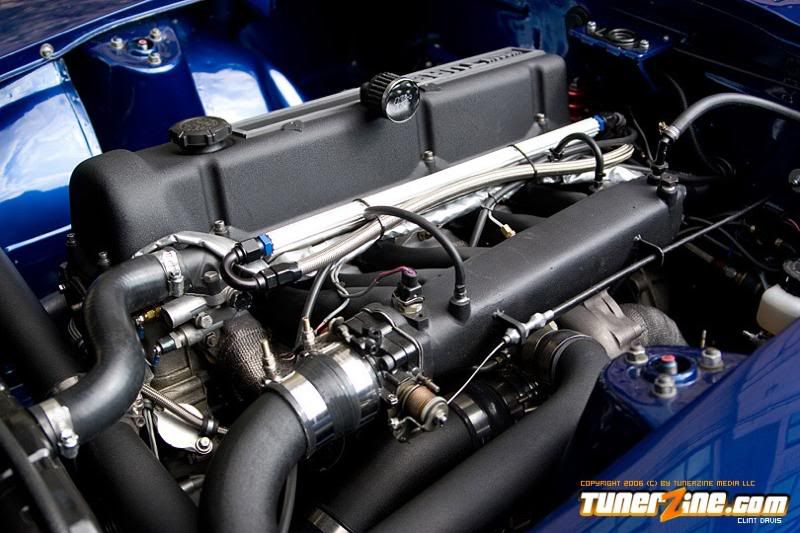
Ran across this article on Racing On The Cheap about running a throttle cable instead of the factory swivel linkage set up. The factory linkage and its many joints creates binding and slop that reduces the feel of the skinny pedal. Another major disadvantage of the factory set up is that it connects the engine to the firewall causing unwanted throttle input from engine movement. Running this will also allow me to simplify the engine bay even more.
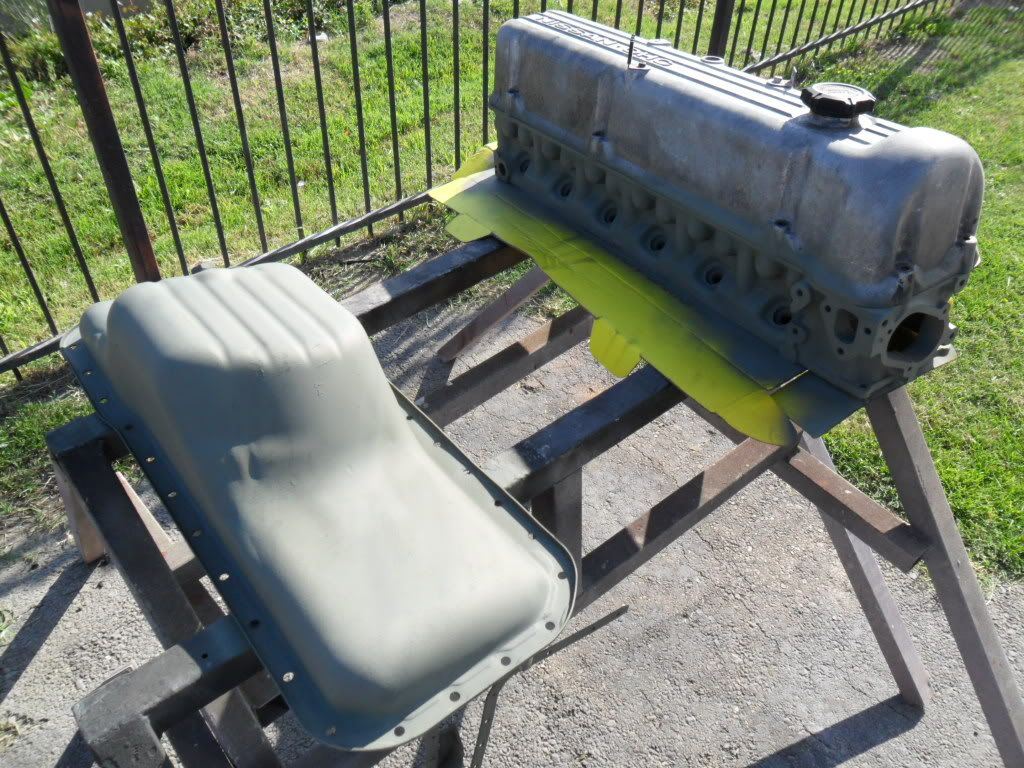
Taking the valve cover along with a few other things to get sand blasted and powder coated. I originally wanted to do the valve cover in wrinkle black but now I'm leaning more towards a wrinkle red finish. Either way I want it to look like it could possibly be oem.
So stripping out those threads in the head wasn't the end of the world. I used a helicoil thread repair kit. It's pretty simple, you just drill out the damaged threads and tap the hole to a bigger thread size. The picture below shows the insert. The insert allows you to reuse the original bolt as if nothing was ever damaged.
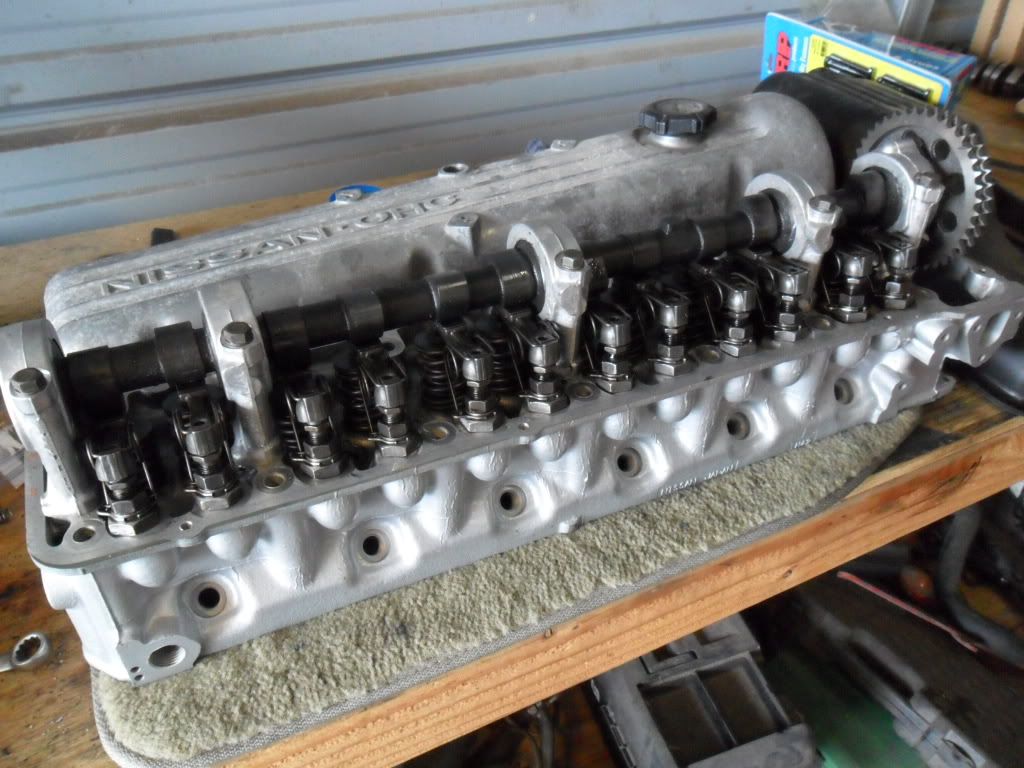
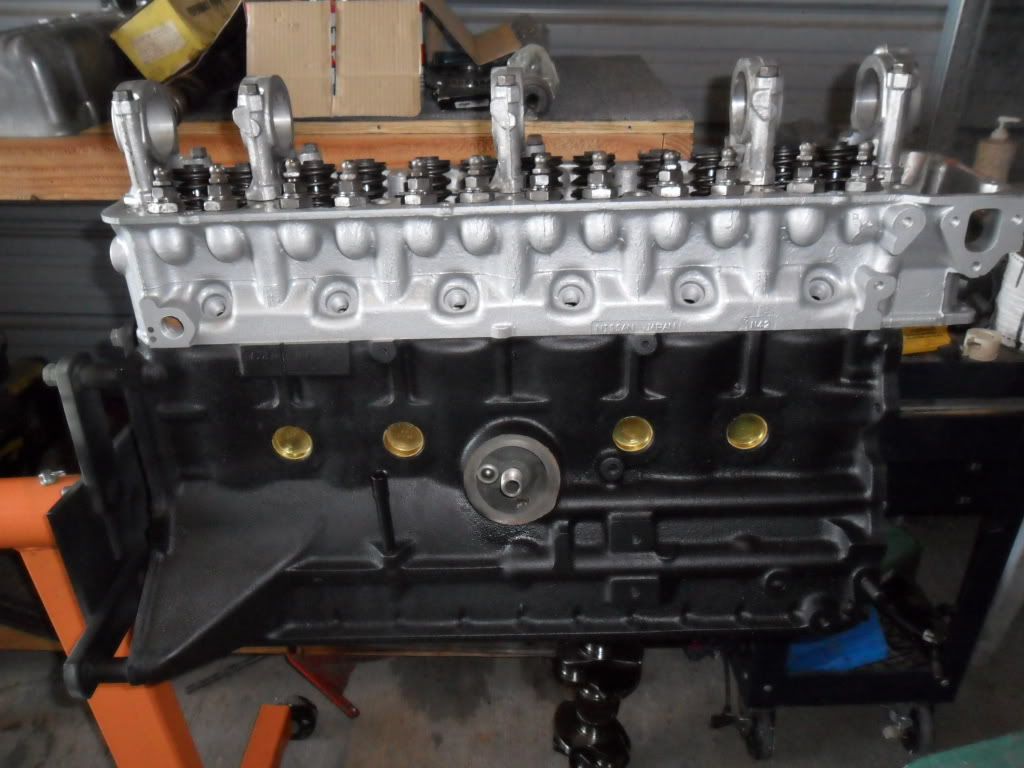
Here's the head assembled. I'm using a Schneider 460 lift and 270/280 duration camshaft along with matching Schneider valve train.
It's important to make sure to have a proper wipe pattern on the rockers along with the right valve lash. Either one being off could cause some serious damage. Speaking of preventing damage, here's all the ARP hardware that came in.
The Z engine is back from the machine shop. Had the following done:
Block bored and honed .040(1mm) over stock Rods checked and micro polished Crank balanced and micro polished New pistons pressed on rods Valve job (valves regrind, seat resurface, new seals, new Schneider springs and retainers) Block and head resurfaced
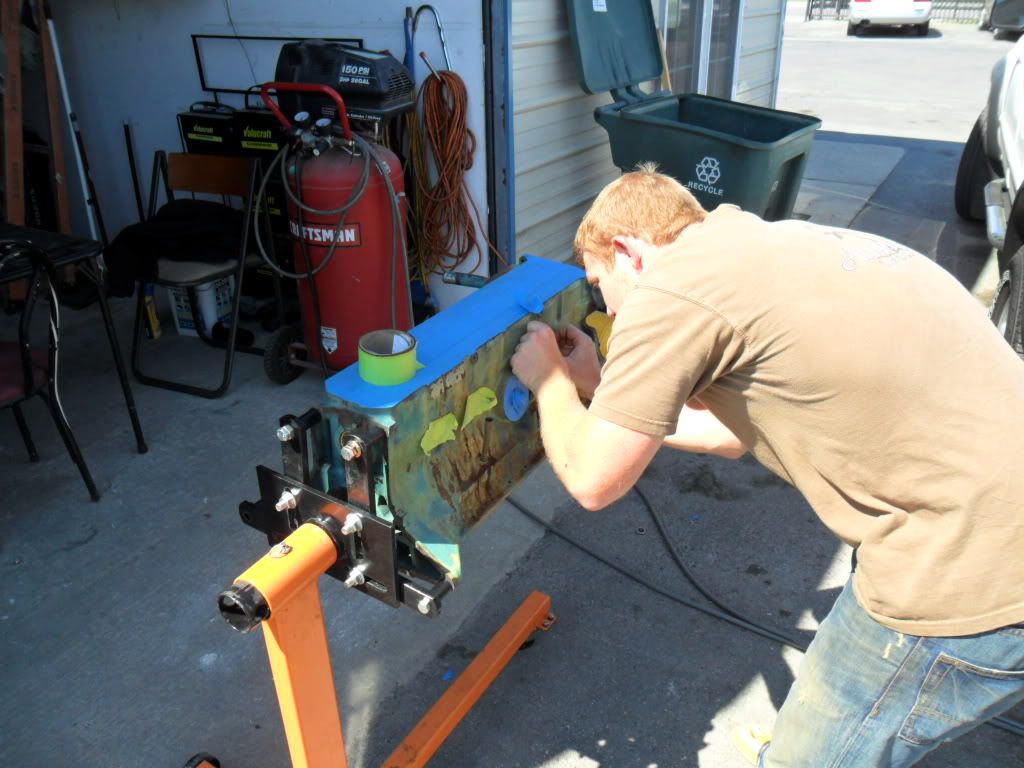
It was a nice sunny day with little wind so I decided to go ahead and paint the block and head. My buddy Zach was over at the shop and gave me a hand.
Everything taped off and ready for primer:
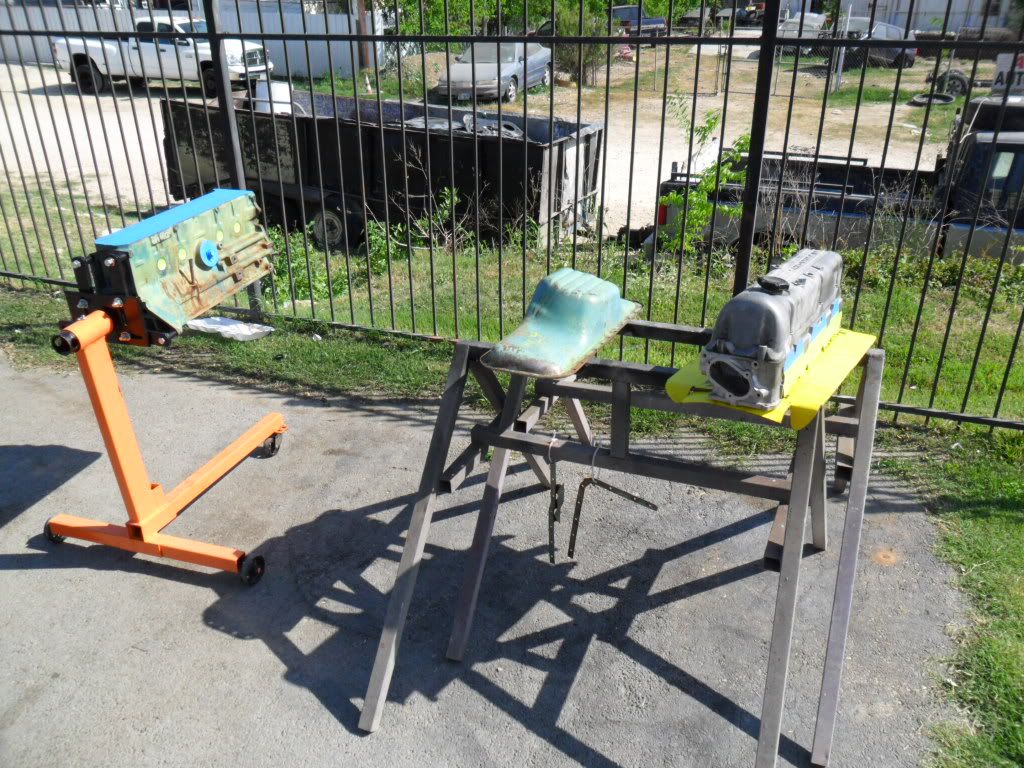
Coat of primer:
Here are the results:
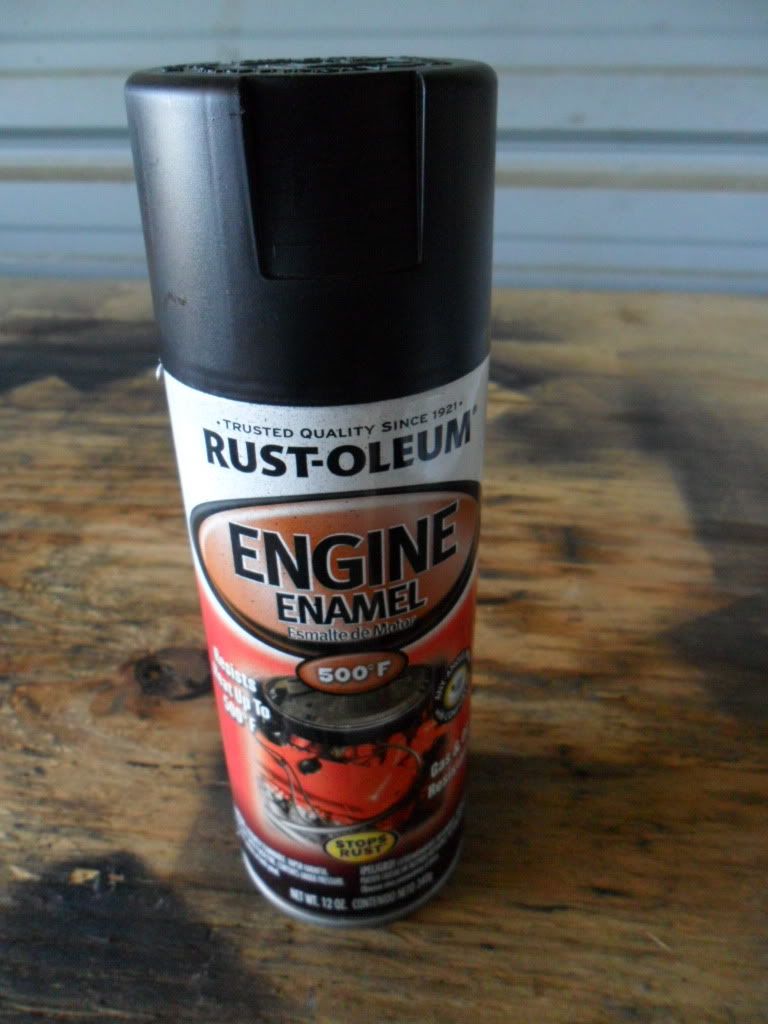
I usually use VHT paint but they were out so I used this. Hope its just as strong:
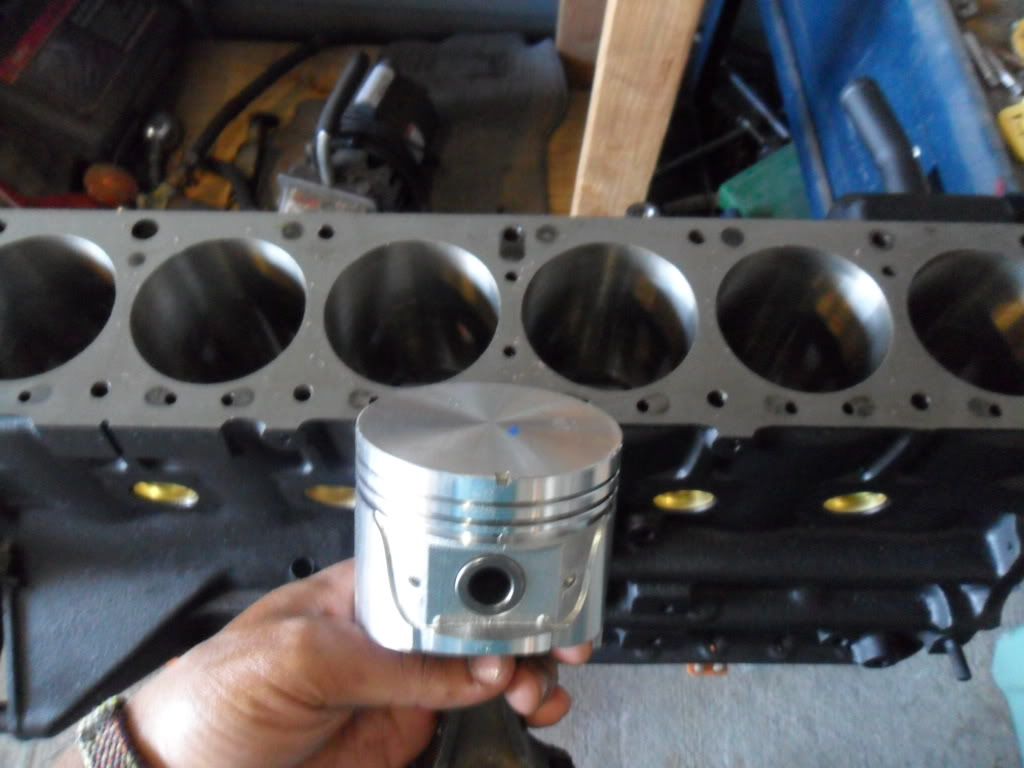
Oh and did I mention Im running flat-tops:
Good progress for the day. I also cleaned out the garage which it has been needing it. On another note if you live in Texas you need to check out The lone Star Round Up hot rod and classics show in Austin!!